昨天写程序遇到一个问题,pyqt5 加载常规的图片完全可以显示。可当加载超清的高分辨率图片时,只能显示一个小角落。可我就想把一张 3840x2160 的图片加载到一个 800x600 的标签里该怎么办呢,如何自适应放缩尺寸?国内社区众所周知大多是抄袭,没什么解决方案,就像本文刚发布两天就被抄走了;外网站搜了一下也没找到现成的解决方案,我知道又到了我开坑的时候了。博客能火全靠pyqt5,以后请叫我pyqt5之父(不是
常规加载 先来看一下,如何借助 QLabel 和 QFileDialog 加载低分辨率的图片,这时候时能正常显示的。
1
2
3
4
5
6
7
8
9
10
11
12
13
14
15
16
17
18
19
20
21
22
23
24
25
26
27
28
29
30
31
32
33
34
35
36
37
38
39
40
41
42
43
import sysfrom PyQt5.QtWidgets import (QMainWindow, QWidget, QHBoxLayout, QApplication, QPushButton, QLabel, QFileDialog, QVBoxLayout, QLineEdit) from PyQt5.QtGui import QPixmapclass mainwindow (QMainWindow ): def __init__ (self ): super (mainwindow, self).__init__() layout = QVBoxLayout() w = QWidget() w.setLayout(layout) self.setCentralWidget(w) self.image_label = QLabel() self.image_label.setFixedSize(800 , 500 ) layout.addWidget(self.image_label) tmp_layout = QHBoxLayout() btn = QPushButton("选择图片路径" ) tmp_layout.addWidget(btn) btn.clicked.connect(self.load_image) self.result = QLineEdit() self.result.setPlaceholderText("车牌展示" ) self.result.setReadOnly(True ) tmp_layout.addWidget(self.result) layout.addLayout(tmp_layout) def load_image (self ): fname, _ = QFileDialog.getOpenFileName(self, 'Open File' , 'C://' , "Image files (*.jpg *.png)" ) if fname is not None : pixmap = QPixmap(fname) self.image_label.setPixmap(pixmap) if __name__ == '__main__' : app = QApplication([]) m = mainwindow() m.show() sys.exit(app.exec ())
上述代码中,点击『选择图片路径』按钮就会调用文件对话框,选择图片后就会打开。步骤为:
第一步,QFileDialog 选择文件路径
第二步,将文件路径传入 QPixmap 类,通过重载构造一个对象,文档原话:Constructs a pixmap from the file with the given fileName. If the file does not exist or is of an unknown format, the pixmap becomes a null pixmap.
第三步,将 QPixmap 对象传给标签的 setPixmap 方法,就完成了图片的显示。
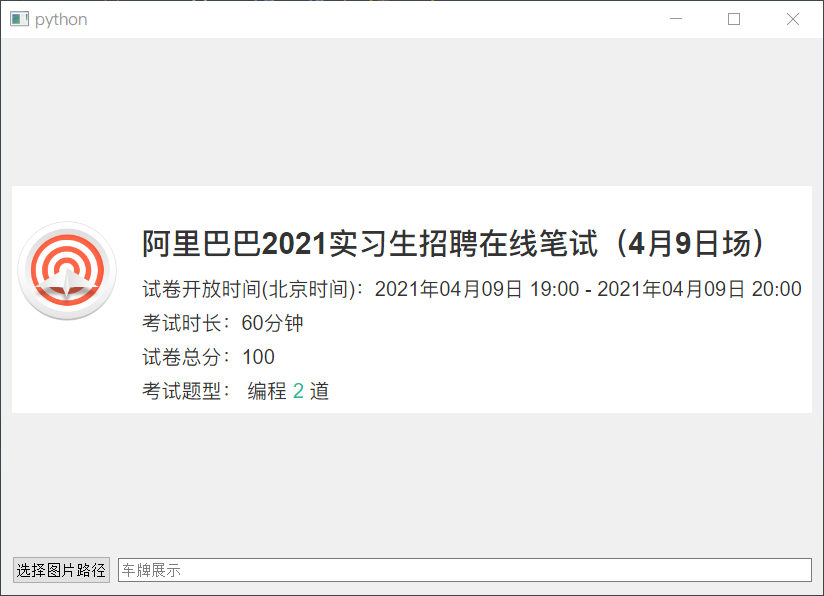
对于低分辨率图片,加载是没问题的:
但高分辨率的图片,只能显示一个角落,也就是蓝色框那一部分:
如何解决呢?既然国内外都没有现成的解决方案,只能掏出万能的官方文档了。
QImageReader 类 需要注意的是官方文档的语言是 C++,还好我会C++。打开文档,映入眼帘的就四句话:
QImageReader reader("large.jpeg"); 读取图片reader.size(); 图片尺寸reader.setClipRect(myRect); 图片裁剪reader.setScaledSize(mySize); 设置图片尺寸,文档原话:Another common function is to show a smaller version of the image. Loading a very large image and then scaling it down to the approriate size can be a very memory consuming operation. By calling the QImageReader::setScaledSize function, you can set the size that you want your resulting image to be.
剩下的任务就很简单了,读图片,设置尺寸,显示。
1
2
3
4
5
6
7
8
9
10
11
12
13
14
15
16
17
18
19
20
21
22
23
24
25
26
27
28
29
30
31
32
33
34
35
36
37
38
39
40
41
42
43
44
45
46
47
48
49
50
51
52
53
54
55
56
57
58
59
60
import sys, timefrom PyQt5.QtWidgets import (QMainWindow, QWidget, QHBoxLayout, QApplication, QPushButton, QLabel, QFileDialog, QVBoxLayout, QLineEdit) from PyQt5.QtGui import QPixmap, QFontfrom PyQt5.Qt import QSize, QImageReaderimport qdarkstyleclass mainwindow (QMainWindow ): def __init__ (self ): super (mainwindow, self).__init__() layout = QVBoxLayout() w = QWidget() w.setLayout(layout) self.setCentralWidget(w) self.image_label = QLabel() self.image_label.setFixedSize(800 , 500 ) layout.addWidget(self.image_label) tmp_layout = QHBoxLayout() btn = QPushButton("选择图片路径" ) tmp_layout.addWidget(btn) btn.clicked.connect(self.load_image) self.result = QLineEdit() self.result.setPlaceholderText("车牌展示" ) self.result.setReadOnly(True ) tmp_layout.addWidget(self.result) layout.addLayout(tmp_layout) self.setStyleSheet(qdarkstyle.load_stylesheet_pyqt5()) def load_image (self ): fname, _ = QFileDialog.getOpenFileName(self, 'Open File' , 'C://' , "Image files (*.jpg *.png)" ) if fname is not None : img = QImageReader(fname) scale = 800 / img.size().width() height = int (img.size().height() * scale) img.setScaledSize(QSize(800 , height)) img = img.read() pixmap = QPixmap(img) self.image_label.setPixmap(pixmap) self.result.setText("车牌号放到这里" ) if __name__ == '__main__' : app = QApplication([]) font = QFont() font.setFamily("SimHei" ) font.setPointSize(14 ) app.setFont(font) m = mainwindow() m.show() sys.exit(app.exec ())
考虑到可能会加载超清图像,为了方便对图片进行控制,不要采用 QImage 或 QPixmap,而是使用 QImageReader
代码解析:
创建 QImageReader 对象,方便对图片进行更多的操作
自适应伸缩,将宽度限定为 800,自适应计算高度应该是多少,而后设置要缩放的大小
将设置好的图像读入为 QImage 类型,而后程序里将其转为 QPixmap 类型
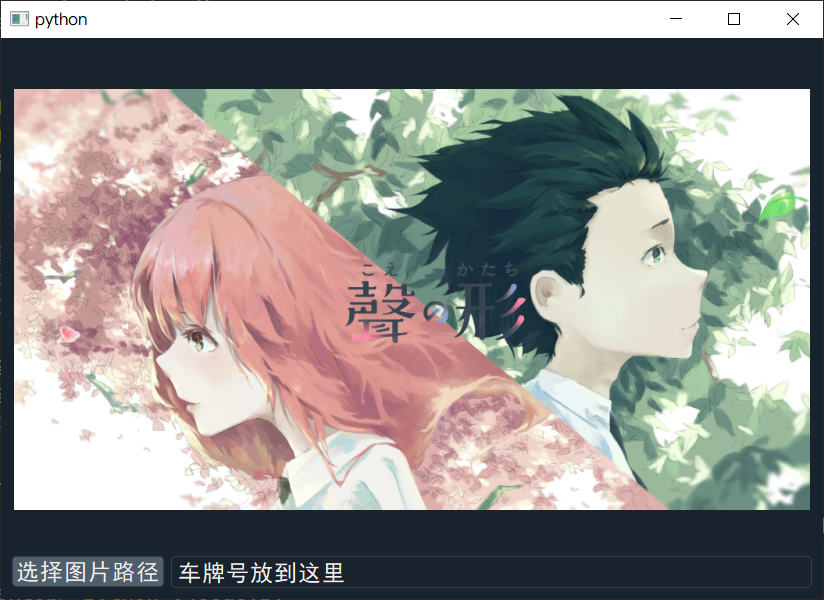
正常方法设置即可,超清图像完美被加载
参考
QImageReader官方文档


